“Success is no accident. It is hard work, perseverance, learning, studying, sacrifice, and, most of all, love of what you are doing or learning to do” – Pele, Brazilian soccer player
1 – Kitchen Knife 2 – Rolling Pin 3 – Mixing Bowl 4 – Large Pot 5 – Slotted Spoon
Pasta Dough
Amount
Unit
Ingredients
115
grams
Semolina flour
115
grams
All purpose flour
2
large
Egg yolks
1
large
Egg
1
tsp
Olive Oil
1-2
tbsp
Water
1
tsp
Salt
Yields 3-4 dough balls
Mix together the flours. Make a well in the center and add the egg yolks, egg, olive oil, and salt into the middle of the well. Slowly mix in the flour until a shaggy dough ball forms.
Using your hands, knead the dough for 7-8 minutes until pliable.
Wrap and let sit at room temperature for 30 minutes.
Ricotta Filling
Amount
Unit
Ingredients
2
cups
Ricotta
1
large
Egg
1/4
cup
Grated parmesan cheese
1
tsp
Salt
1
tsp
Black pepper
Mix all ingredients together in a bowl. Keep chilled until ready for use.
Bruschetta
Amount
Unit
Ingredients
6
Roma tomatoes, diced
1
Shallot, finely diced*
2
cloves
Garlic, finely diced
1/2
cup
Balsamic vinegar
1/4
cup
Olive oil
1/4
cup
Fresh basil, chopped
Salt and pepper to taste
*If you do not have a shallot, replace with 1/2 of a red onion, finely diced.
Dice all of the vegetables. Mix all of the bruschetta ingredients together in a bowl and set aside. The longer this mixture is left to sit, the better it will taste.
Assembly
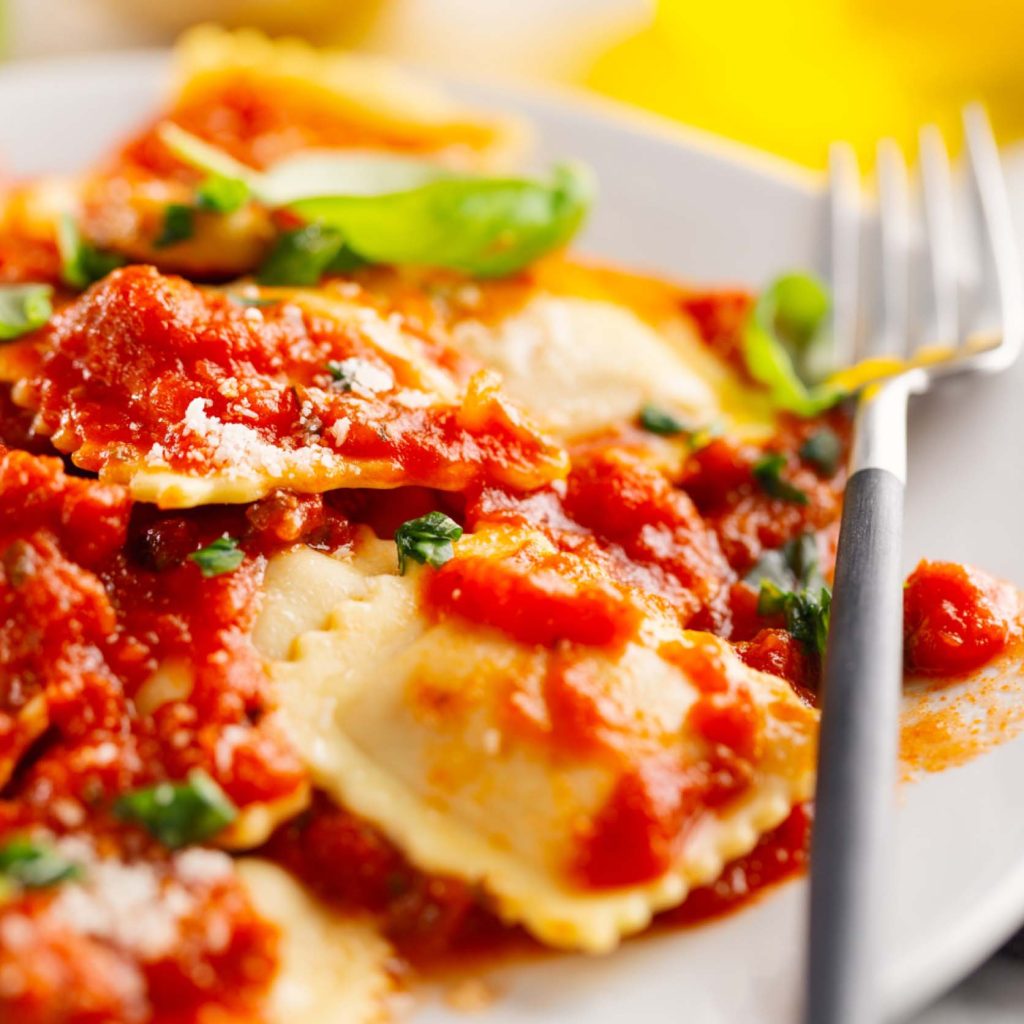
With a pasta roller or a rolling pin, roll 2 very thin sheets of pasta about a 1/4 inch thick. On one pasta sheet, place 1 tbsp of the ricotta filling about 2 inches apart until you can’t fit anymore on the pasta sheet. Brush all around the filling with room temp water. This will help seal the filling in the dough. Press your fingers in between the fillings to seal. Using a wheel cutter, cut squares/ravioli. Crimp the edges to ensure the filling is sealed in the pasta.
Bring a big pot of water to a boil with a couple heavy pinches of salt. Boil the ravioli for 3-4 minutes until the pasta is cooked. Scoop out with a slotted spoon and toss with a little bit of olive oil, salt, and pepper. Place in a serving dish and top with the bruschetta. Fresh shaved parmesan cheese and any leftover basil is also a good addition to the top.
1 – Fine-mesh Sieve 2 – Medium Pot 3 – Large Bowl 4 – Small Bowl 5 – Whisk
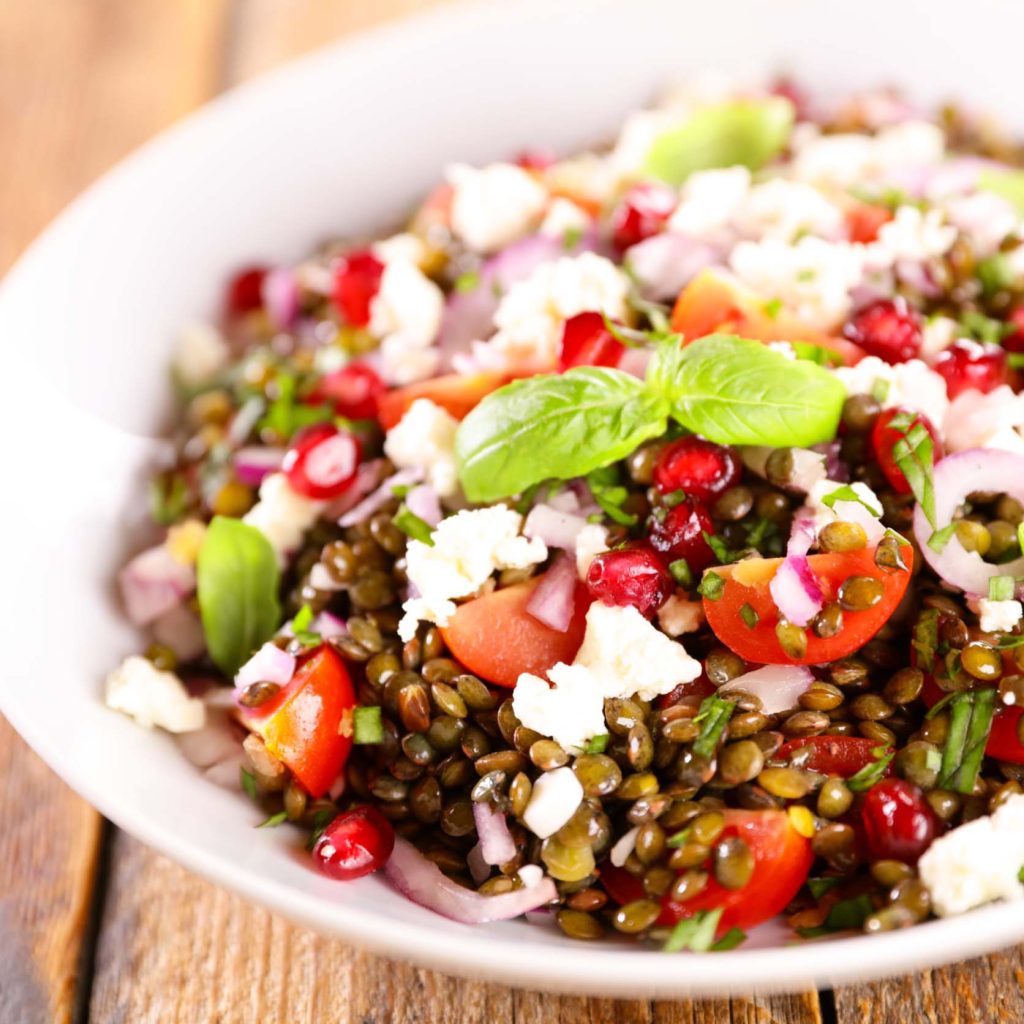
Salad
Amount
Unit
Ingredients
1
cup
Dry lentils
4
cups
Water
1
Bay leaf
1
medium
Cucumber, cut into 1/4 inch cubes
1/2
small
Red onion, thinly sliced
1-1/2
cups
Cherry tomatoes, halved
1/2
cup
Kalamata olives, halved
1/2
cup
Roasted red peppers, diced
1/2
cup
Crumbled feta cheese
2
tsp
Dried oregano
2
tbsp
Fresh mint, minced
Place lentils in a fine-mesh sieve and rinse well under cold water, removing any imperfect or bad lentils.
Place lentils, water, and the bay leaf into a medium pot. Bring to a boil over high heat, then reduce heat to medium-low, cover, and allow to cook 18-25 minutes until lentils are tender but not mushy.
Drain lentils, discard the bay leaf, and allow the lentils to cool in a large bowl in the fridge.
Once the lentils are cooled, add the cucumber, red onion, cherry tomatoes, olives, roasted red peppers, feta cheese, oregano, and mint to the bowl and toss well until combined. Set aside.
For the Citrus Dressing
Amount
Unit
Ingredients
2
tbsp
Freshly-squeezed orange juice
2
tbsp
Freshly-squeezed lemon juice
1
tbsp
Dijon mustard
1
tbsp
Honey or agave nectar
1/4
cup
Extra-virgin olive oil
Salt and pepper to taste
In a small bowl, whisk the orange juice, lemon juice, Dijon mustard, and honey/agave nectar until smooth. Slowly begin drizzling in olive oil until dressing is smooth. Season the dressing with salt and pepper to taste.
Drizzle the citrus dressing over the salad and toss until evenly coated. Season with additional salt and pepper to taste if needed. Store the salad in a refrigerator until ready to serve. Enjoy!
“Anyone can cook, but you must be open to making mistakes. Mistakes are how we learn in the kitchen; each time you fail, you learn something new. Knowledge is power and practice makes perfect!”
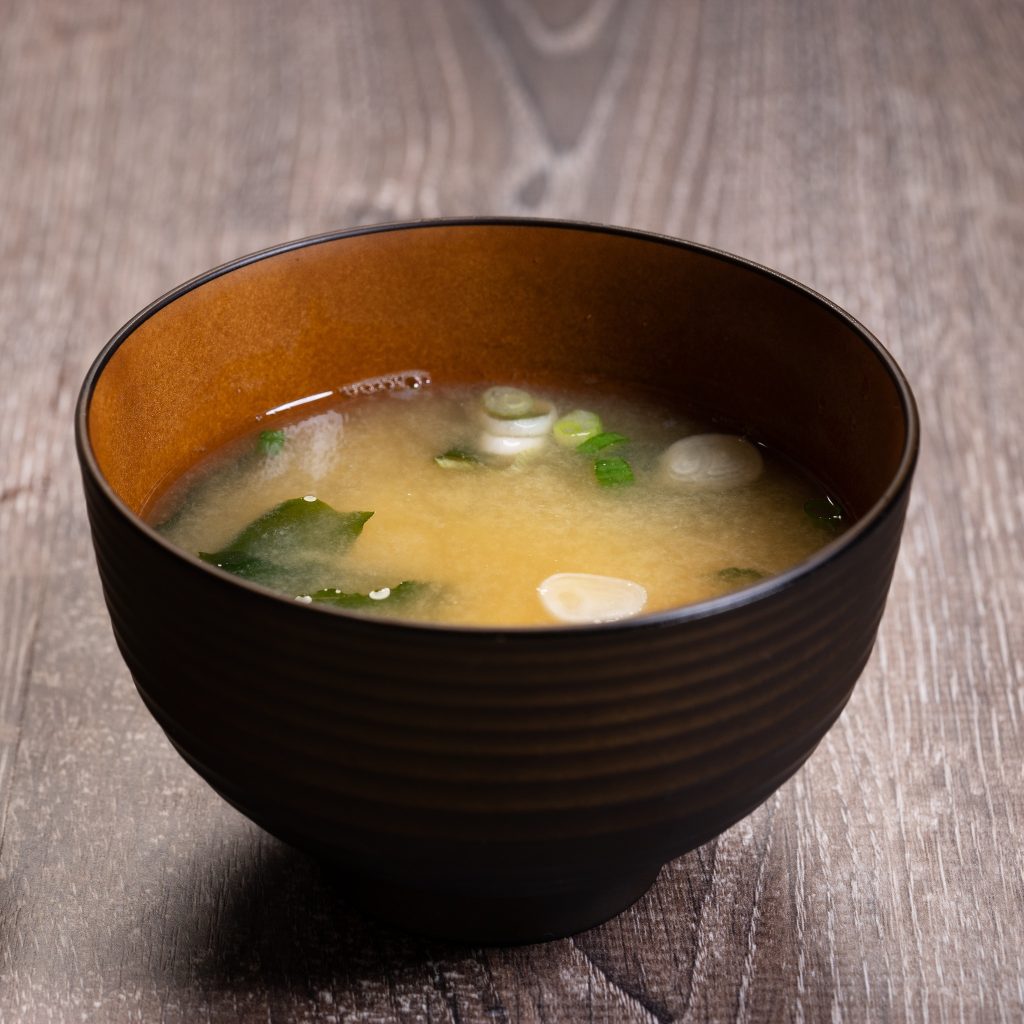
In a medium-sized pot, bring both to a simmer over medium-high heat.
Stir in the sea salt, white pepper, mirin, and soy sauce. Adjust the heat to low.
In a small bowl, whisk the eggs until frothy.
Spoon the eggs gently onto the soup, trying to keep them on the surface.
Cook on low heat for roughly 2 minutes until eggs are set.
Spoon the soup into serving bowls.
Squeeze the ginger over the bowl to add a few drops of ginger juice into each bowl and then garnish with scallions.
Enjoy!
“When I lived in Alaska, the roads would close periodically due to snow. This made travel to the store somewhat difficult. My neighbor had a heated hen coop and would give me eggs pretty regularly in exchange for meal or labor. This was fine, until I got sick of eating omelets and frittatas. I started making this soup as I was able to use up both the eggs and chicken.”
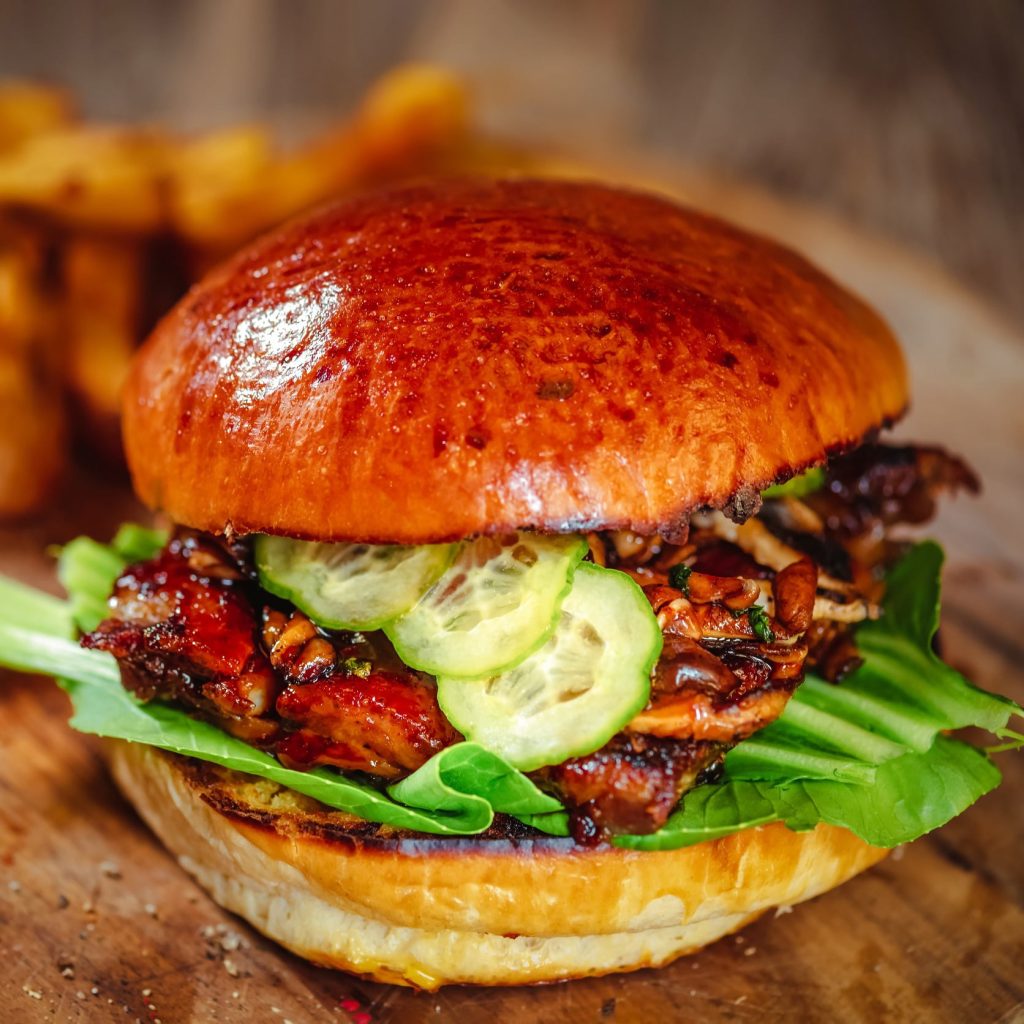
Pat the pork belly dry with a paper towel. Completely rub the pork belly with your spice blend, making sure to cover the entire piece of meat.
Wrap the pork belly with plastic wrap and refrigerate for 24 hours.
After 24 hours, roast on a wire rack in preheated 425 degree oven for 15 minutes.
After 15 minutes, turn one down to 325 degrees and continue roasting for 1 hour until pork is crispy on the outside.
Remove from oven and cool pork belly overnight in the fridge.
After cooling overnight, slice pork into 1/4 inch slices.
Sauté sliced pork in BBQ sauce before building sandwiches.
Spread brioche rolls with butter and lightly toast until golden brown.
Arrange hot sliced pork belly onto the bottom of the bun, followed by more BBQ sauce if desired, pickles, and other desired toppings.
Serve hot and enjoy!
“This sandwich is a winter time favorite of mine because it’s so easy to make and nothing beats the hearty, sweet, and salty taste of pork belly on a dreary winter’s night. This sandwich is open-ended, meaning it can be topped with whatever you want. Try it with pickled vegetables, coleslaw, cheese, caramelized onions, or even bacon! It’s sure to please any picky eater.”
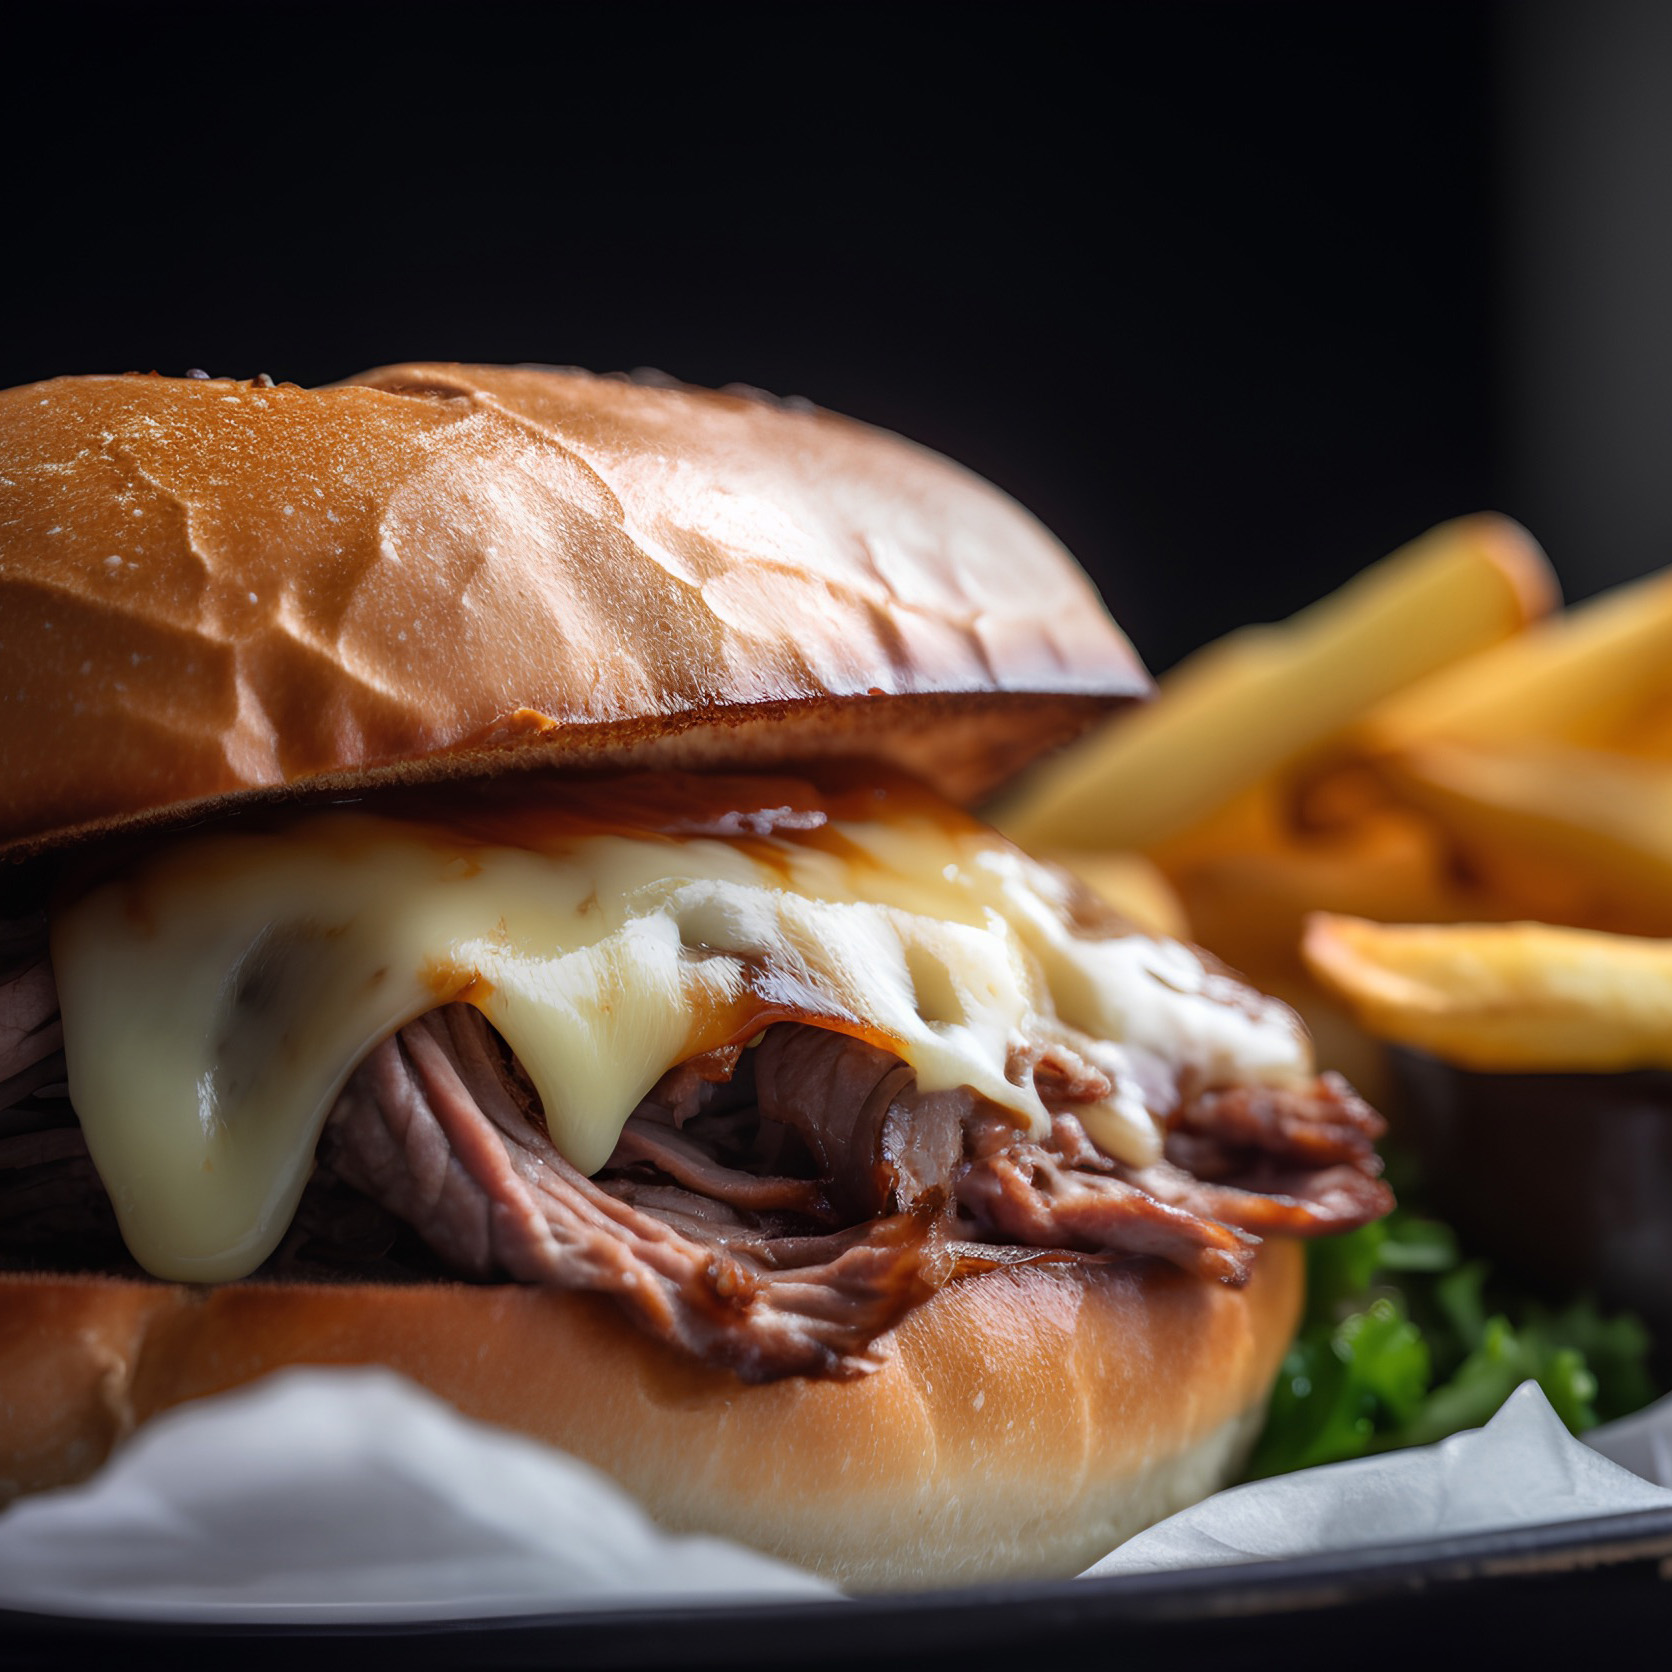
Place the thin sliced roast beef in the center of the foil and fold up all four sides to completely enclose the beef.
Bake in the preheated oven for 10 to 15 minutes.
While the beef is heating up, heat the cheese sauce ingredients in a small saucepan over low heat until the cheese has melted. Reduce heat to a simmer to keep warm.
Combine all the ingredients for the red ranch sauce in a small bowl. Mix well and set aside.
Melt the butter in a pan over low heat and place the onion roll open side down to toast each side of the bun.
Build the sandwich by spreading red ranch sauce on the bottom bun, and the layers of roast beef, and top with the warm cheese sauce.
“Success is no accident. It is hard work, perseverance, learning, studying, sacrifice, and, most of all, love of what you are doing or learning to do” – Pele, Brazilian soccer player
from the kitchen of Nutrition & Wellness Manager Heather Carrera
Equipment Needed
1 – Food Processor or Blender 2 – Saucepan with Lid
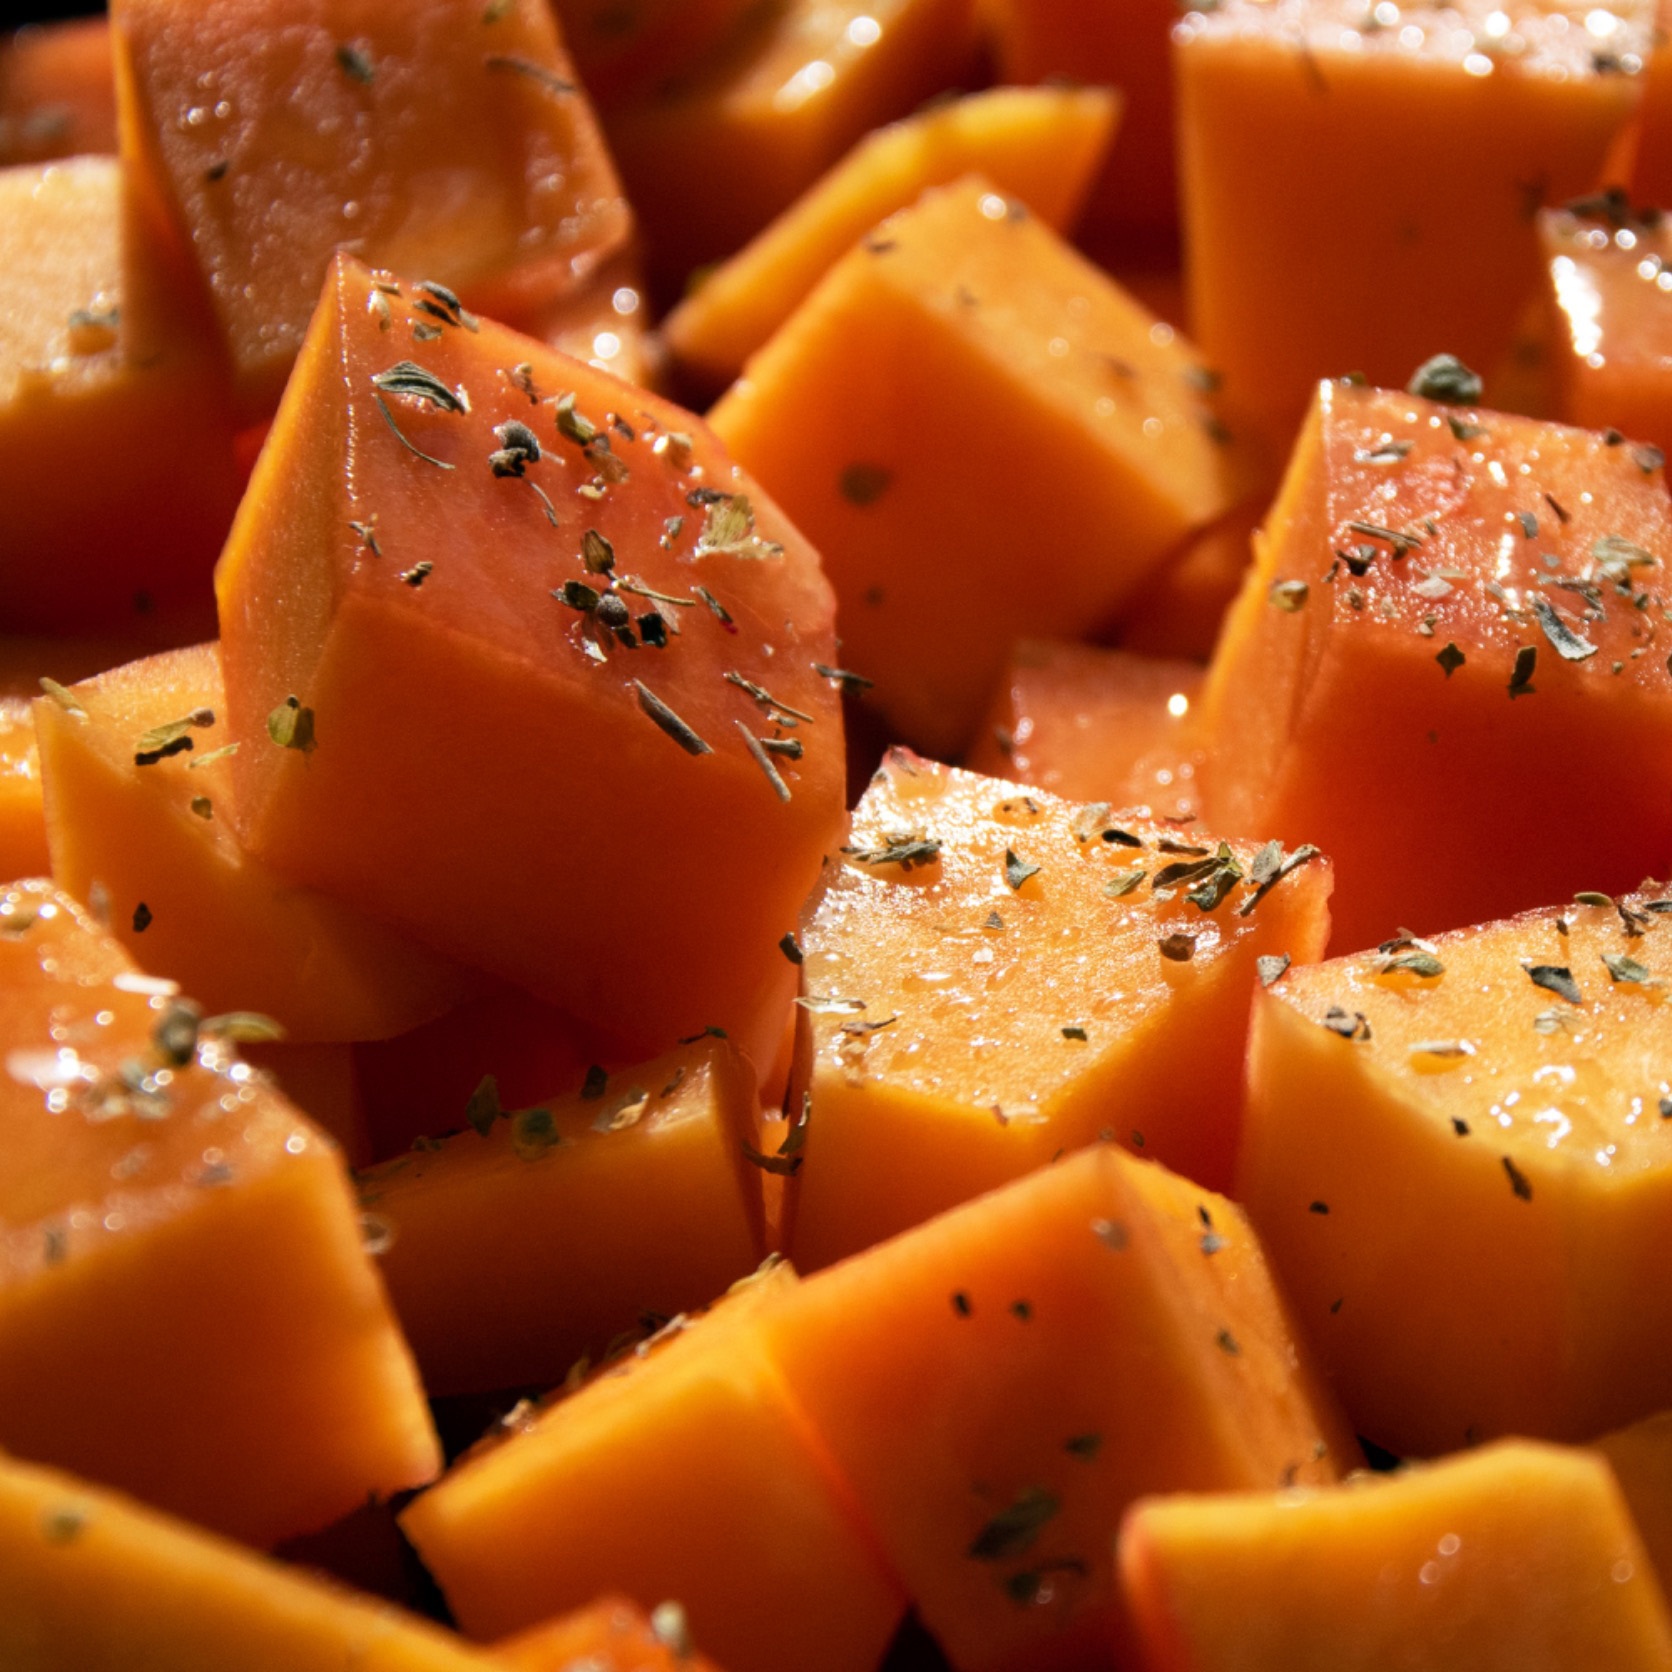
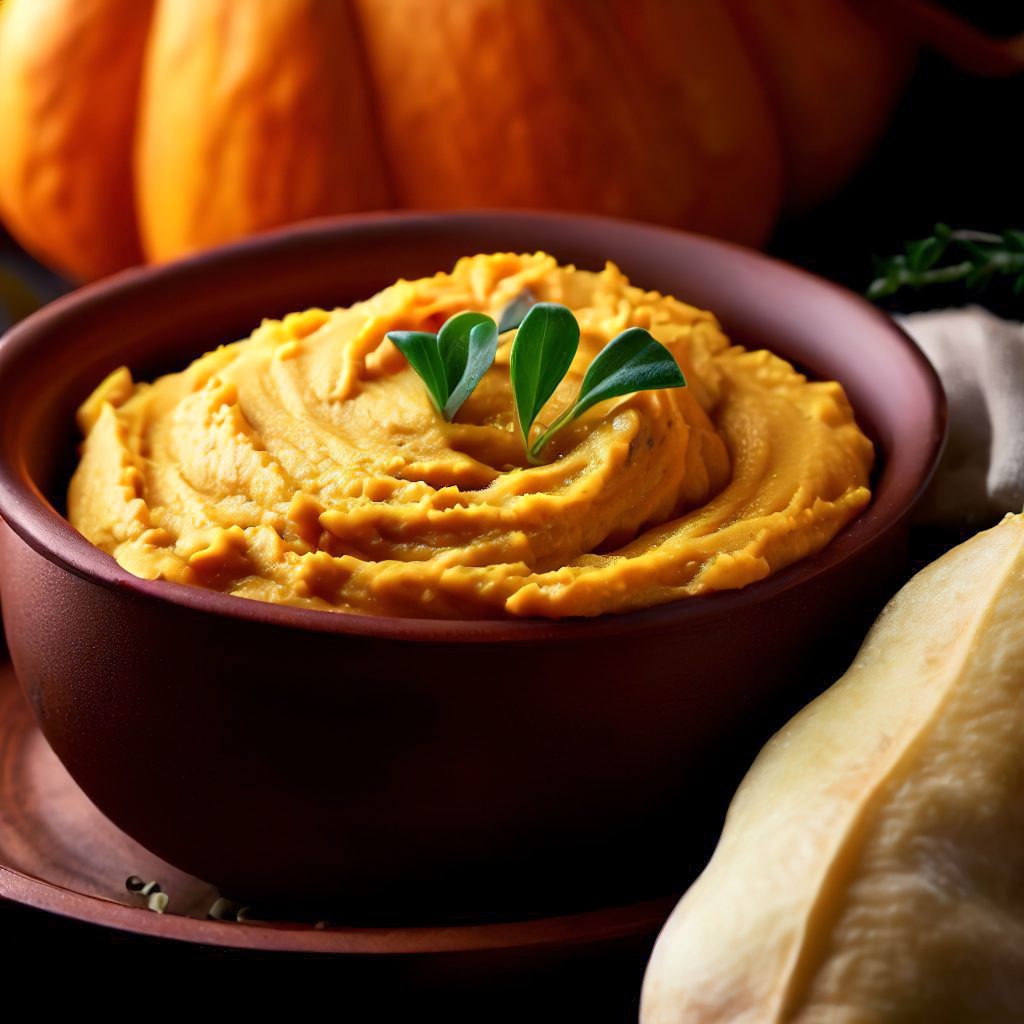
Savory Pumpkin Dip
Amount
Unit
Ingredients
1
cup
White beans
1
cup
Pumpkin puree (squash or sweet potato also work)
1/4
cup
Water
1
tsp
Smoked paprika
1/2
tsp
Onion powder
1/2
tsp
Chili powder
1/2
tsp
Sea salt
Crackers and/or veggie sticks for serving
In a food processor or blender, combine all ingredients until smooth. Serve with whole grain crackers or veggie sticks such as celery, carrots, bell peppers, or endive.
Maple Pecan Dip
Amount
Unit
Ingredients
1
cup
Cashews
5
Brazil nuts
1/4
cup
Pecans
1
cup
Water
1/2
tsp
Alcohol free vanilla extract
1/8
tsp
Salt
1
tbsp
Maple syrup (plus more for drizzling)
Apple and/or pear slices for serving
In a small lidded saucepan, bring the water, cashews, Brazil nuts, and pecans to a boil. Once boiling, lower the heat and simmer for 10 minutes until nuts have softened.
Transfer nuts and liquid to a food processor and add remaining ingredients. Process until completely smooth and creamy, scraping down the sides intermittently to ensure everything gets incorporated. This may take 5 minutes or so depending on your food processor.
Serve immediately with apple or pear slices to dip. Drizzle with a touch more of maple syrup.
“The food you eat can be either the safest and most powerful form of medicine or the slowest form of poison. Your health is what you make it.” – Ann Wigmore
1 – Pizza Pan 2 – Pizza Cutter 3 – Thermometer 4 – Digital Scale
Master Pizza Dough
Amount
Unit
Ingredients
1000
grams
Flour (all purpose or bread; either is fine)
720
grams
Water (between 90-95 degrees)
19
grams
Salt
18
grams
Malt Powder (if not available, increase the flour by 18 grams)
2
grams
Yeast
Yields 3-4 dough balls
Mix flour, water, and malt powder (if available) in a big bowl until shaggy. Cover and let sit for 30 minutes.
Add salt and yeast. Dip hands into a bowl of cool water and pull dough from the bottom to the top to cover the salt and yeast. Knead the dough to combine it into a cohesive ball.
Cover and let sit for 20 minutes. Do 3 kneads.
Cover and let sit for 20 more minutes. Do 3 kneads.
Cover and let sit for 20 more minutes. Do 3 final kneads.
Cover and let sit for 4-5 hours minimum or overnight in a fridge.
Portion the dough into 3-4 dough balls.
Pickled Vegetables
Amount
Unit
Ingredients
1
cup
Shredded carrots
1
cup
Thinly sliced red onion
1
cup
Thinly sliced red pepper
4
cups
Rice wine vinegar
1/8
cup
White sugar
1
big pinch
Salt
Prepare vegetables. Make sure the onions and peppers are about the same size as the carrots. Set aside.
Bring vinegar, sugar, and a big pinch of salt to a boil. Turn off and cool down to room temperature. Once cooled, pour over the cut vegetables. Store in the fridge.
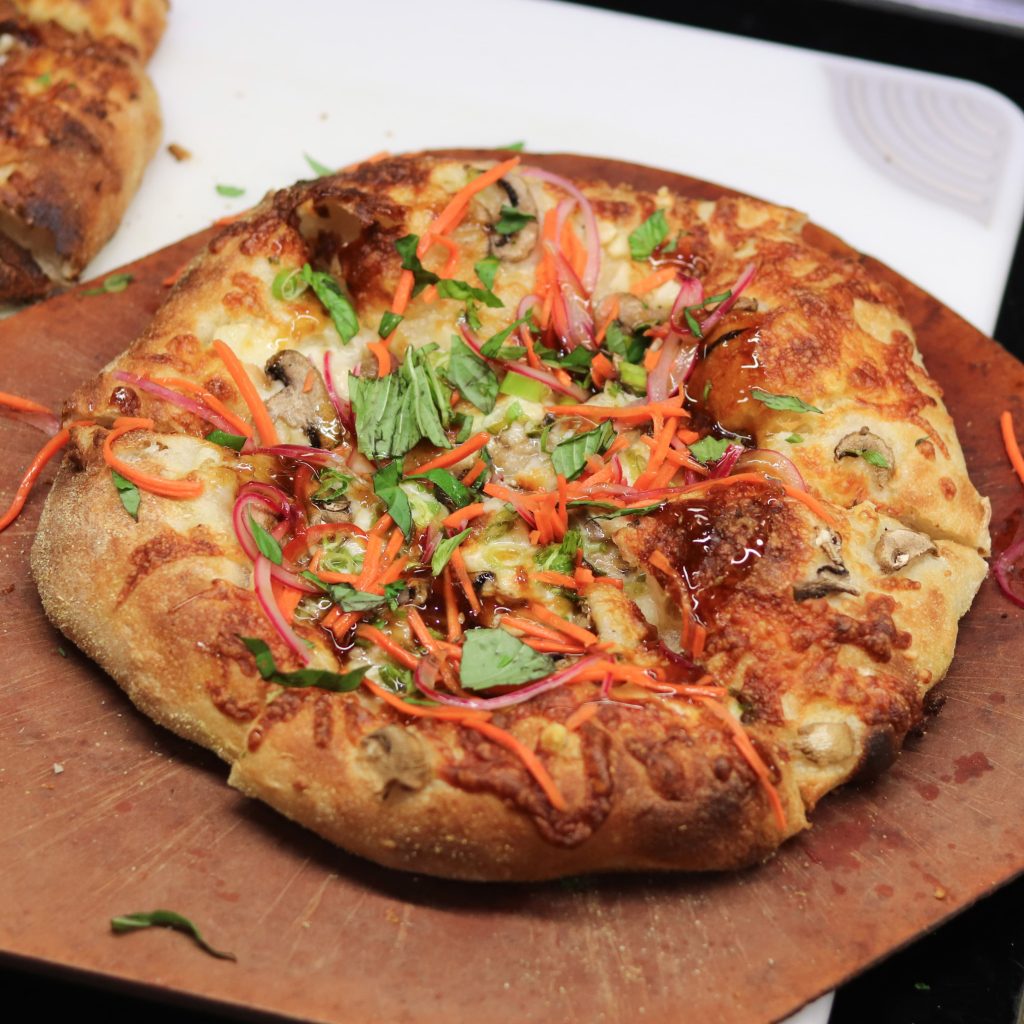
Chicken Dumpling Pizza
Amount
Unit
Ingredients
1
ball
Pizza dough
3
tbsp
Sesame oil
1
tbsp
Minced garlic
1
tbsp
Minced ginger
3/4
cup
Shredded mozzarella
1/8
cup
Sliced scallions
1/8
cup
grilled chicken, sliced
2
tbsp
Pickled vegetables
2
ounces
Sweet teriyaki wing sauce
Basil for garnish
Preheat oven to 450 degrees
Spread 1 dough ball to 10″-12″ leaving some room around the edge for a crust. Place crust into a pizza pan. Drizzle the sesame oil over the dough. Spread the ginger and garlic evenly across the dough.
Sprinkle mozzarella over top of the ginger and garlic. Evenly spread out the scallions and chicken. Bake for 8-10 minutes or until crust is a nice deep brown.
Cut pizza into 6 or 8 slices. Sprinkle the pickled vegetables around the pizza, drizzle the teriyaki sauce, and sprinkle basil over the pizza.
Cover the chickpeas with water and leave to soak overnight. Drain the chickpeas and place them on a kitchen towel. Fold the towel over the chickpeas and pat them dry.
Transfer the chickpeas to a food processor along with the remaining ingredients minus the oil. Pulse until you reach a mealy texture that holds together when you squeeze it. Refrigerate for one hour.
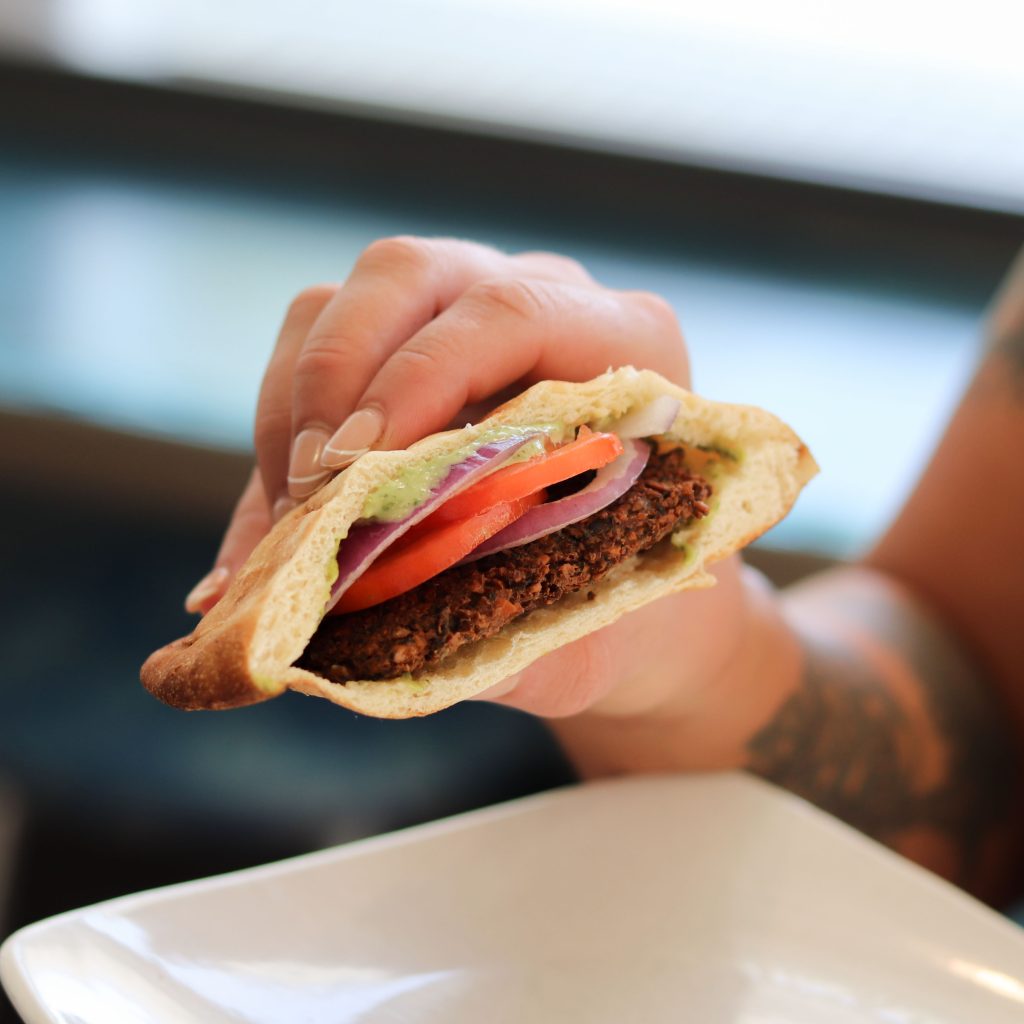
Heat enough oil in a pan over medium heat to cover the falafel at least halfway. Take about 1 and a half tablespoons of the falafel mixture and form it into a ball by squeezing it together with your hands. If they are not sticking together well, you can add another tablespoon of chickpea flour. (I find that patting the chickpeas dry first prevents the need to add more flour later)
It is a good idea to test one falafel ball first. It should turn golden brown in about two minutes. If it doesn’t, adjust the temperature of the oil accordingly.
Fry the falafel in batches, flipping once, until they are golden brown on both sides. Remove to a paper-towel lined plate to drain.
If you’re making a falafel pita, carefully slice open your pitas and stuff with lettuce, sliced cucumber, sliced tomato, and red onion.
For the Vegan Green Tahini Sauce
Amount
Unit
Ingredients
1/2
cup
Water
2
tbsp
Lemon juice
3
tbsp
Flour
3
cloves
Garlic, grated
3/4
cup
Cilantro
1/2
tsp
Salt
3
tbsp
Olive oil
Prepare the Vegan Green Tahini Sauce by placing everything into a food processor and blending it together. Once blended, the sauce is ready.
“Anyone can cook, but you must be open to making mistakes. Mistakes are how we learn in the kitchen; each time you fail, you learn something new. Knowledge is power and practice makes perfect!”
Heat oven to 425°F. Heat 1 tablespoon of olive oil and garlic in a small saucepan on medium heat until sizzling (about 1 minute). Remove from heat and stir in the cashews, 1/4 teaspoon of kosher salt, and 1/4 teaspoon of kosher pepper. Add 1 1/2 cups of water and bring the mixture to a boil. Reduce heat and simmer until cashews are tenders (roughly 10 to 12 minutes).
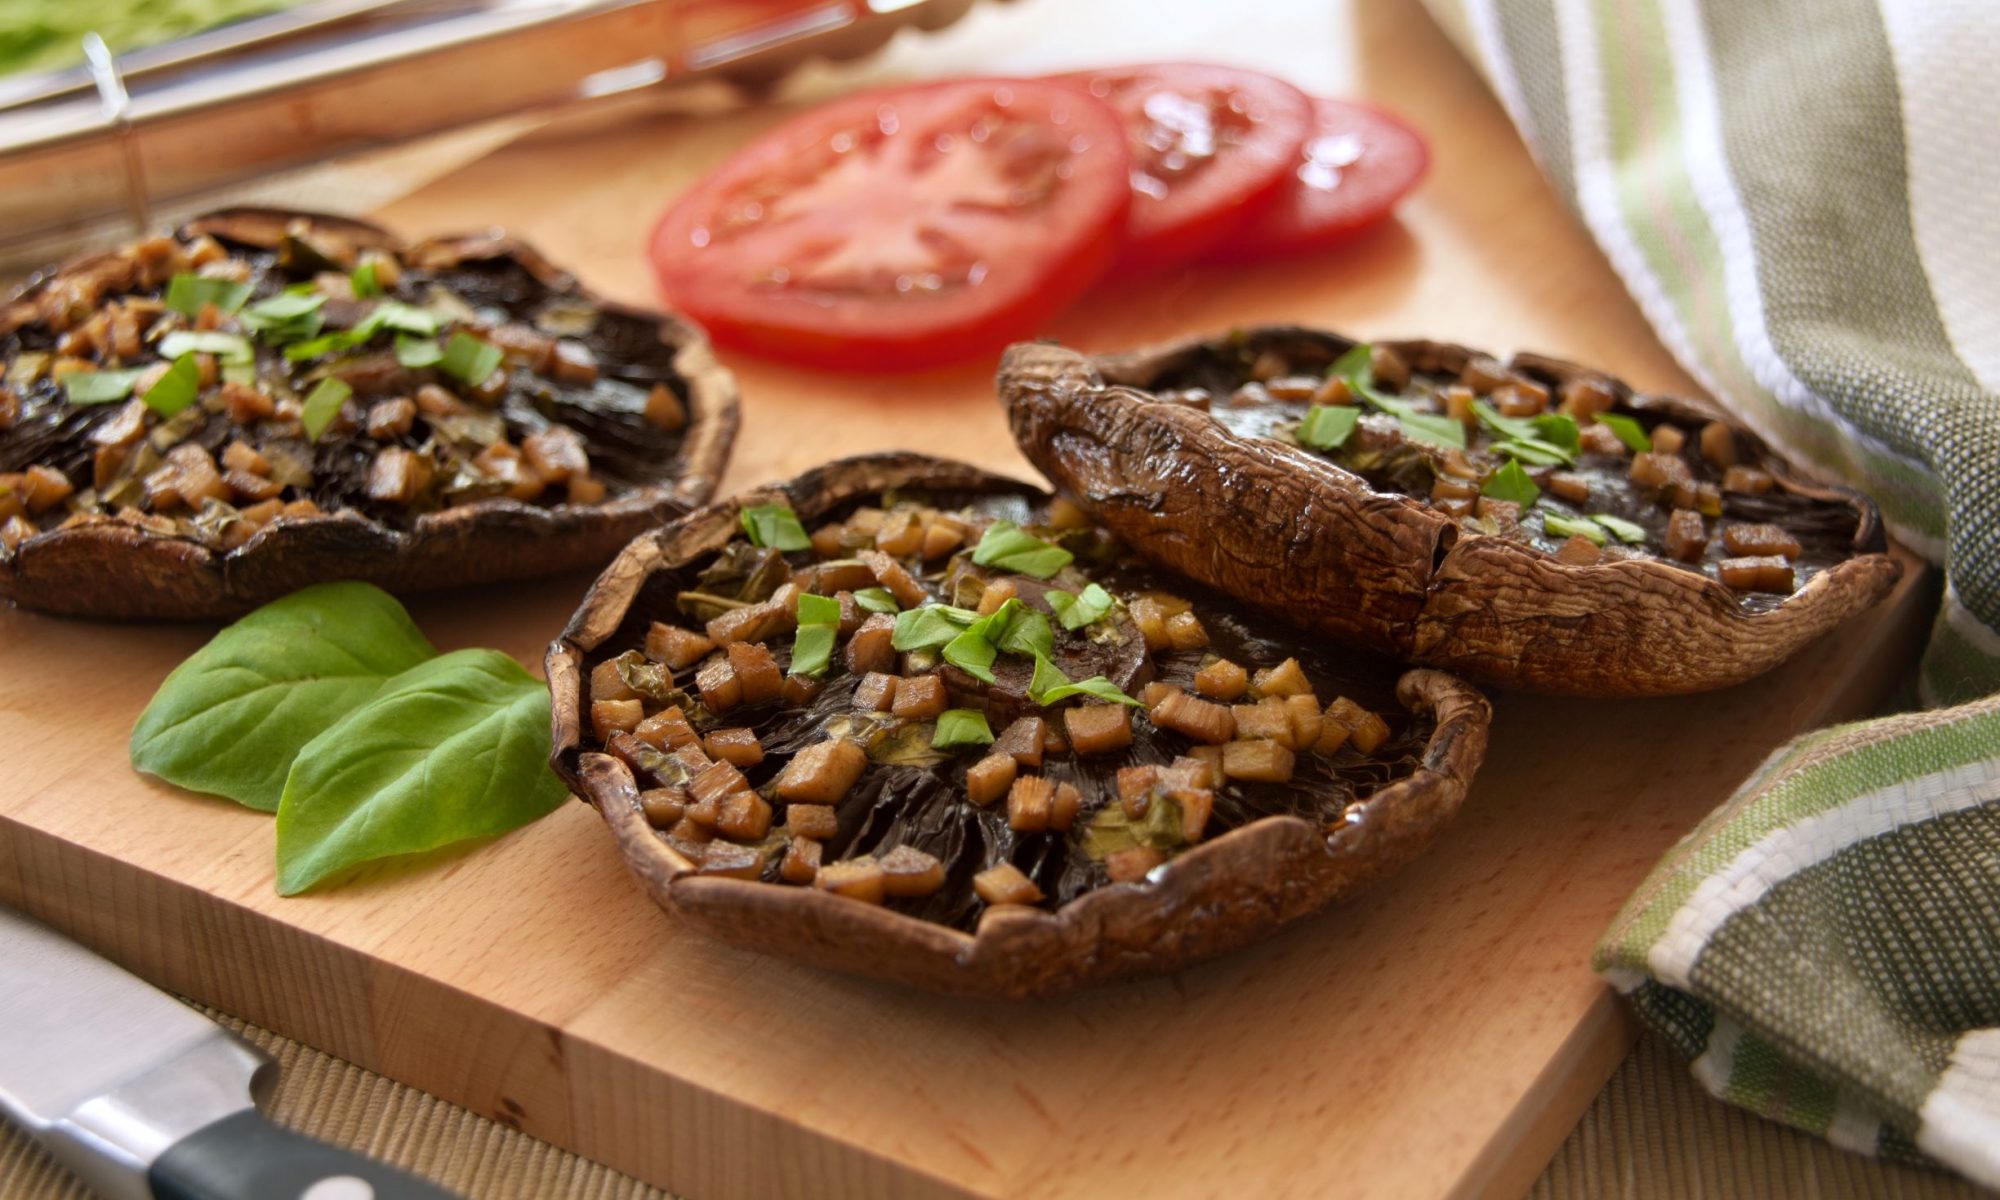
Step 2
Meanwhile, heat the remaining tablespoon of olive oil in a large skillet on medium-high. Add the cremini mushrooms and Shiitake mushrooms. Season with 1/4 teaspoon of kosher salt and 1/4 teaspoon of kosher pepper. Cook, tossing occasionally until golden brown and tender (roughly 6 to 8 minutes), and then remove from heat. Stir in 1 cup of marinara sauce.
Step 3
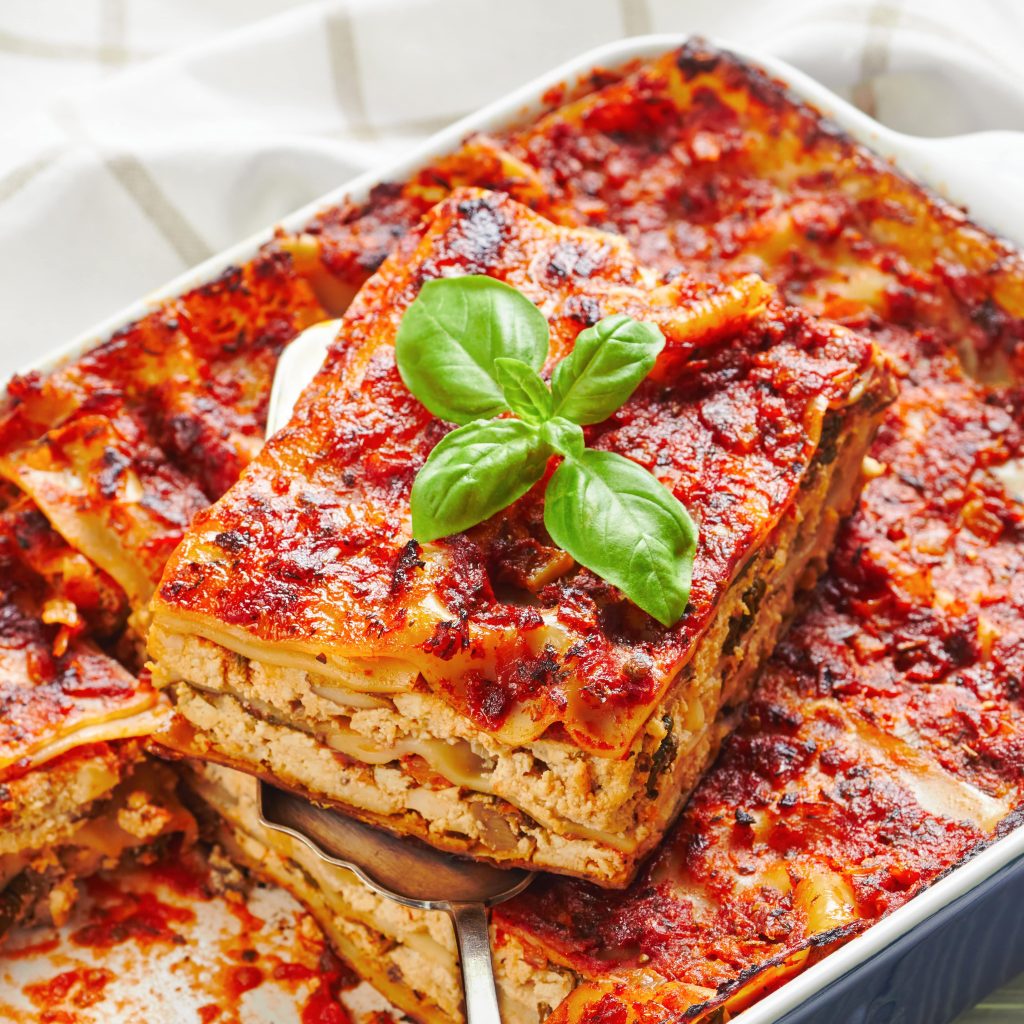
Transfer cashew mixture to a blender. Add nutritional yeast and 1/4 cup water; puree until smooth. Transfer to a bowl and fold in spinach, parsley, and basil. Spread the remaining 1/2 cup of marinara on the bottom of an 8-inch square baking dish. Top with 2 noodles.
Step 4
Spread one-quarter (about 1/4 cup) of the mushroom marinara on top, followed by 1/4 cup of the cashew mixture. Repeat twice. Place the remaining 2 noodles on top. Spread with the remaining sauce and dollop with the remaining cashew mixture.
Step 5
Cover tightly with an oiled piece of foil (to prevent sticking) and bake for 25 minutes. Uncover and bake until the noodles are tender (roughly 5 to 8 minutes more). Sprinkle with additional parsley and basil before serving.